In my previous tutorial, I showed you how to do runtime mesh manipulation in Unreal Engine 4.26 using various components (UStaticMeshComponent, UProceduralMeshComponent, and USimpleDynamicMeshComponent) by way of the GeometryProcessing plugin’s mesh editing capabilities and a sort of “wrapper” Actor called ADynamicMeshBaseActor. An obvious thing that you might want to use this machinery for is to do procedural geometry generation, either in-Editor or in-Game. And since ADynamicMeshBaseActor exposed Blueprint functions for things like mesh generators, Mesh Booleans with another ADynamicMeshBaseActor, and so on, one could imagine building up a procedural system where you generate Actors and combine them to build up complex geometry.
Here’s the problem though: Actors are expensive. Say you want to do something like use an L-System to create plants, or buildings, or whatever. These systems tend to involve lots of small meshes. Making an Actor for each of those small meshes would be…painful.
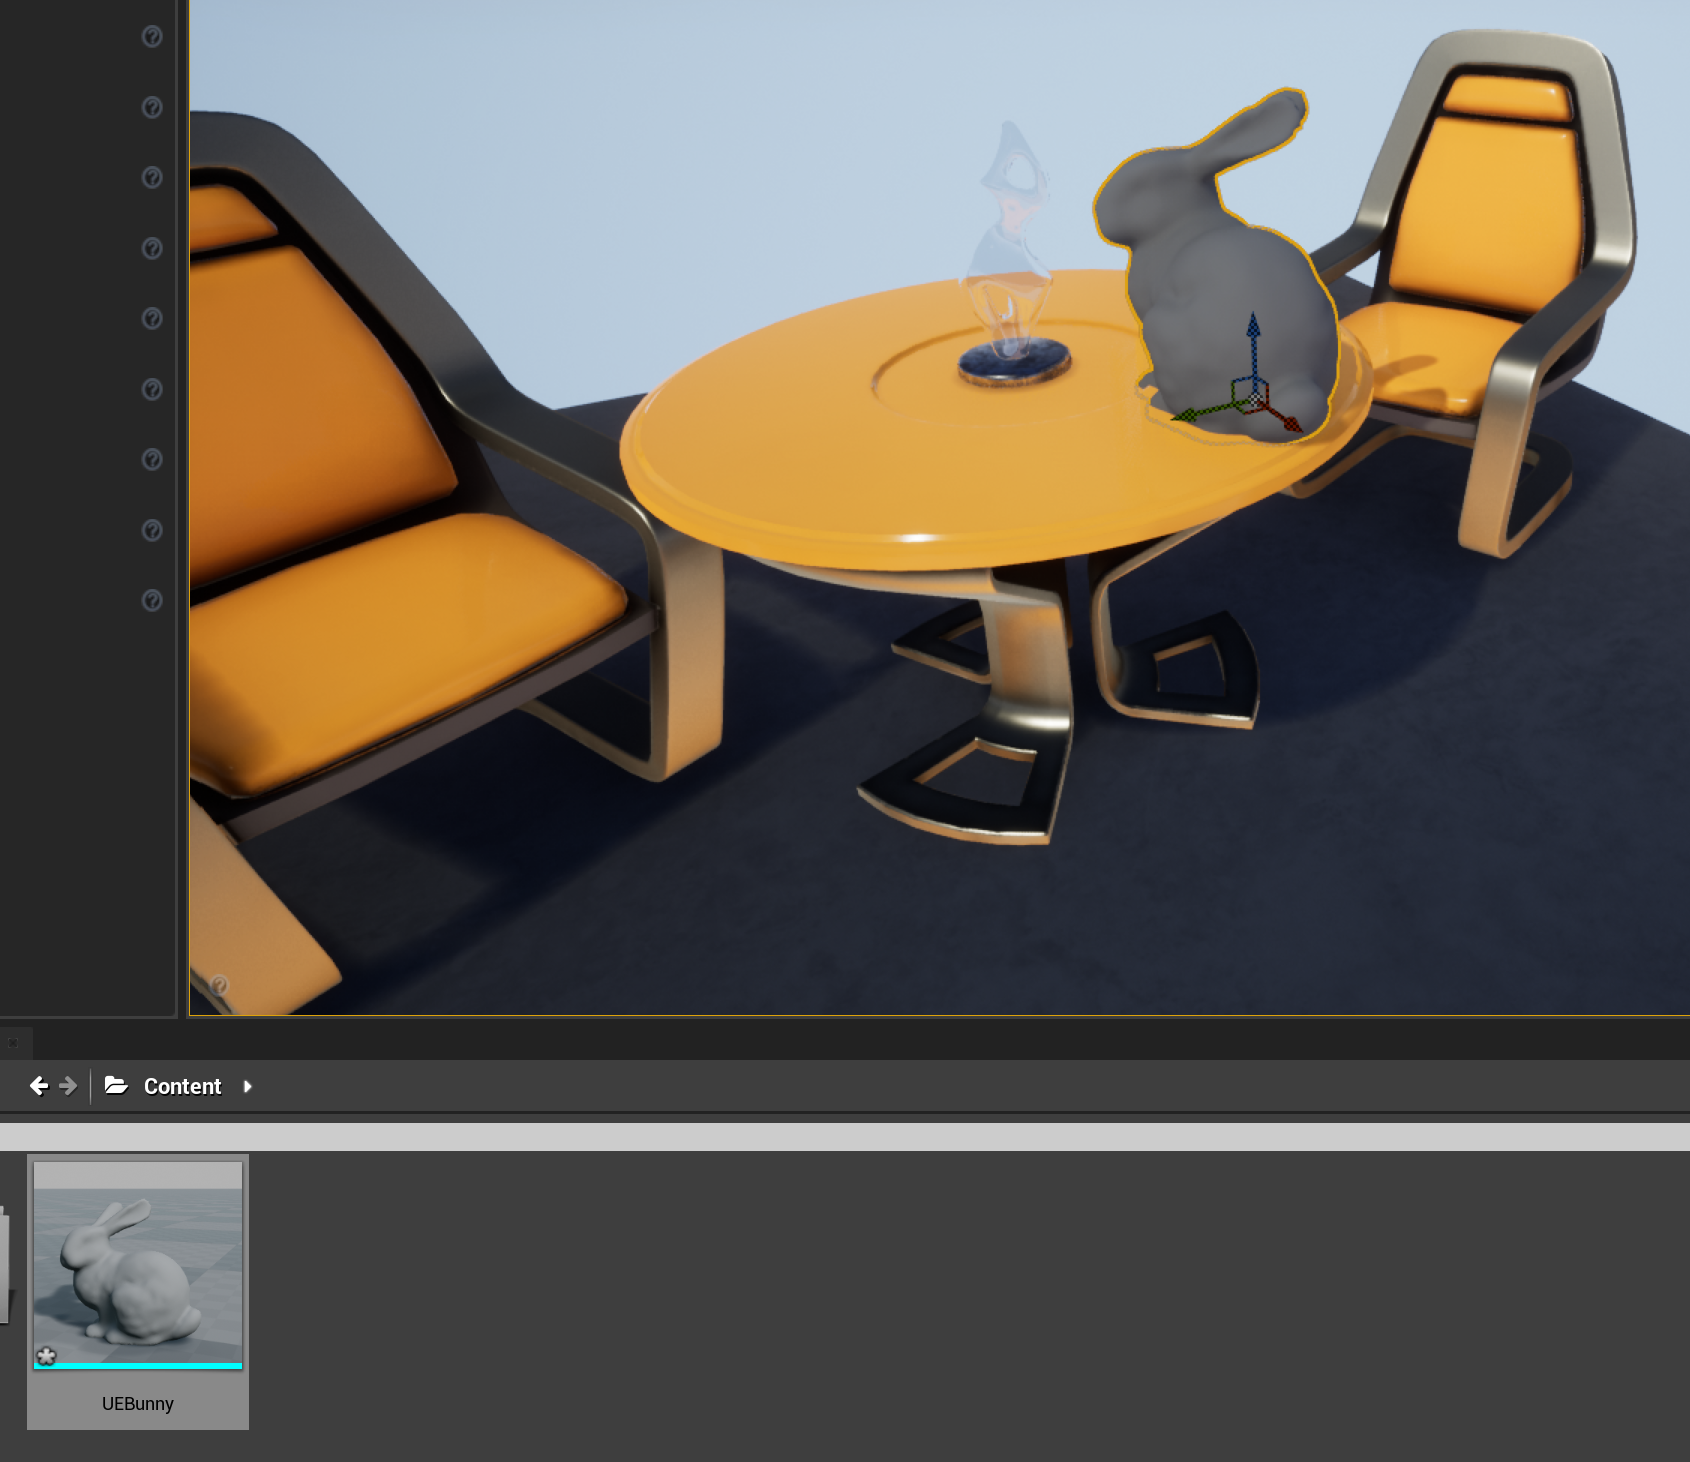
So, in this tutorial I’m going to show you one way to implement a more effective procedural mesh generation system in Blueprints. I’m not sure this approach is the best way to do it, and it has some serious pitfalls. But the result is that the small level you see on the right is 100% generated by Blueprints - there is not a single static mesh in this project. All the geometry is built up by combining simple primitives, doing operations like Booleans and mesh-wrapping and applying displacement noise, and there is even a simple all-in-Blueprints scattering system for placing rocks on the asteroids. The textures are not procedural, I made them in Quixel Mixer. But they are applied without UV maps, so that’s kinda procedural! And I threw in a little Niagara particle system at the end, to spice up your escape from the Asteroid.
(Mandatory Disclaimer: your author, Ryan Schmidt, is an employee of Epic Games. However, gradientspace.com is his personal website and this article represents his personal thoughts and opinions. In particular, this tutorial code and content is not part of Unreal Engine, and it isn’t supported by Epic Games.)
Getting and Running the Sample Project
Before we begin, this tutorial is for UE 4.26, currently in Preview release (Preview 7 at time of writing). You can install the Preview binaries from the Epic Games Launcher.
The project for this tutorial is on Github in UnrealProceduralMeshesDemo repository (MIT License). I did not include this in the same repository as my previous tutorials because there are ~100mb of binary files. In UE 4.26 this project will probably only work on Windows due to the inclusion of the DynamicSDMCActor class in the RuntimeGeometryUtils plugin. However I did not use any DynamicSDMCActors in this project, so you should be able to make it this demo work on OSX/Linux by deleting the DynamicSDMCActor .cpp and .h files - see the notes at the end of the previous tutorial (If you try that and it works, please send me a note so I can mention it here).
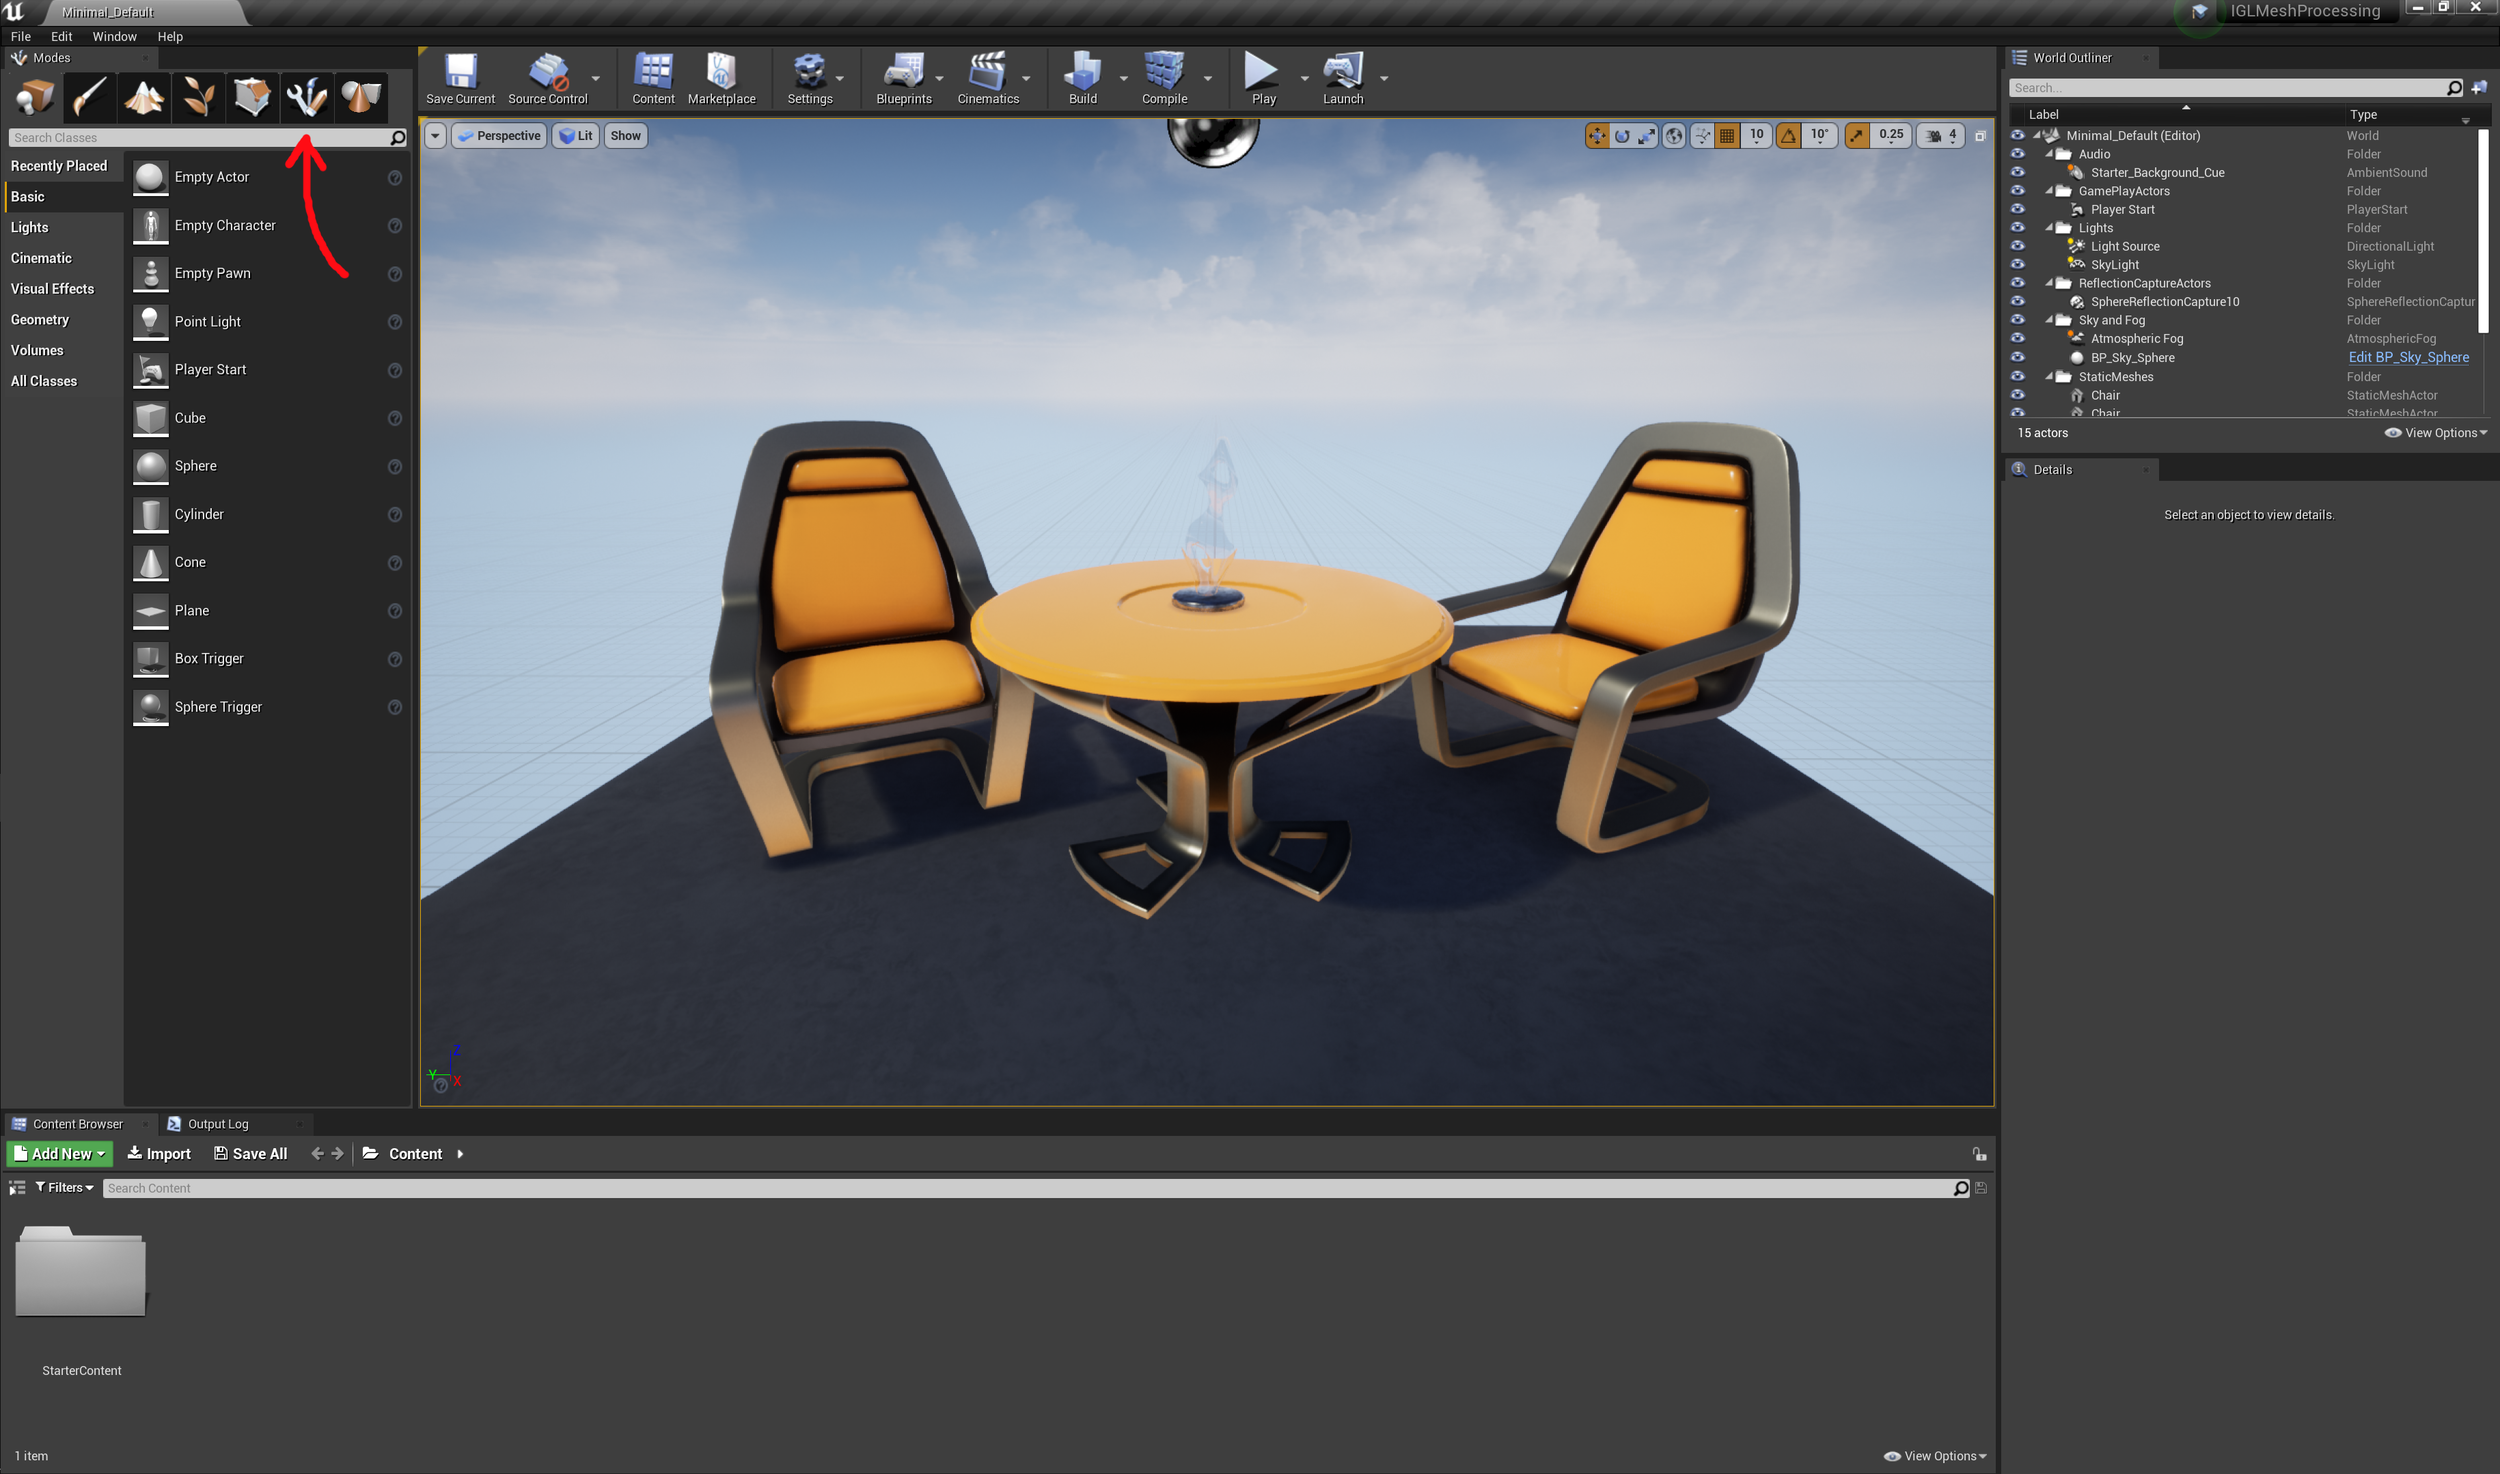
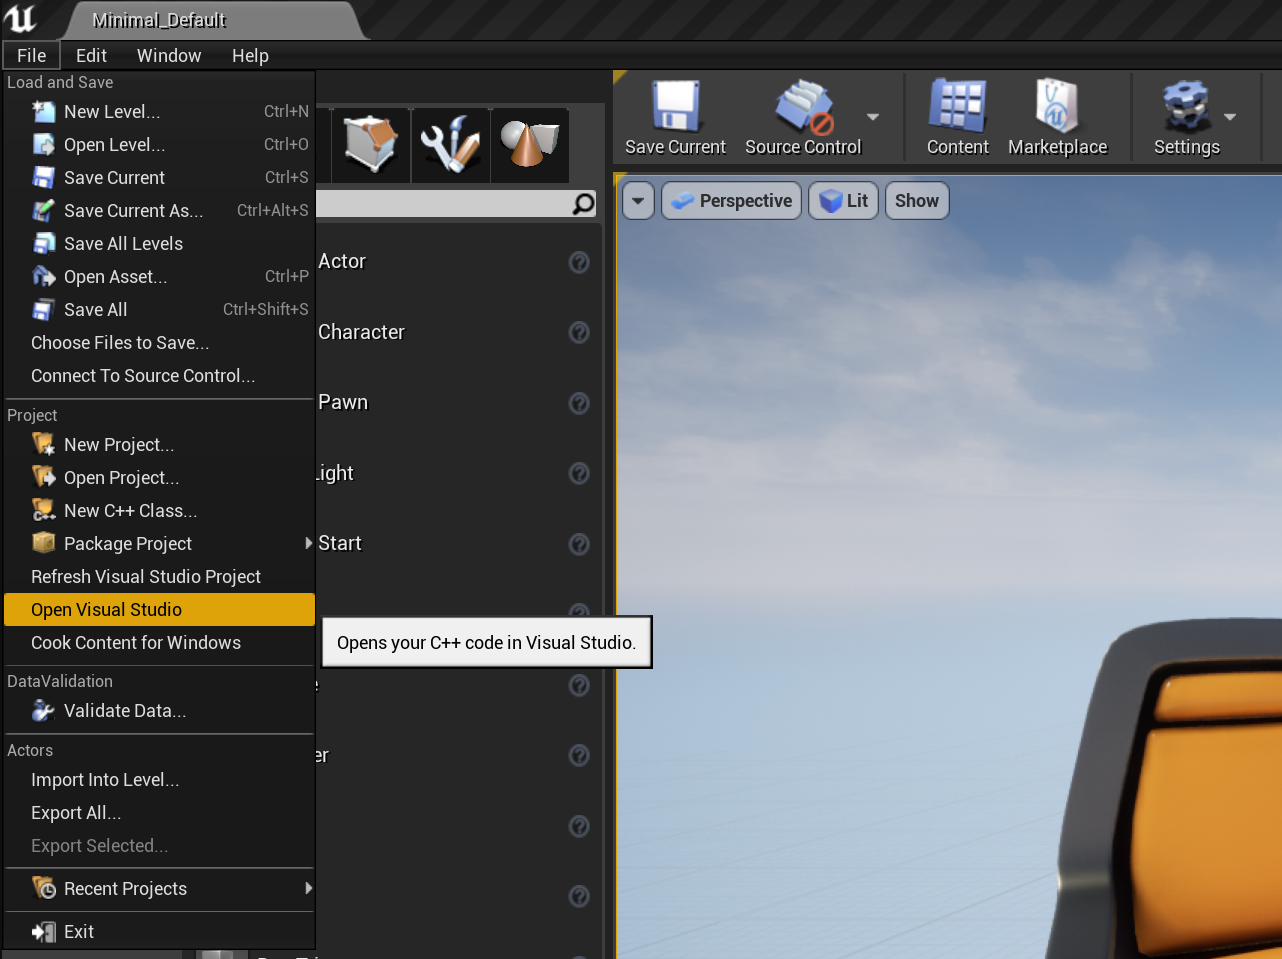
Once you are in the top-level folder, right-click on ProceduralMeshesDemo.uproject in Windows Explorer and select Generate Visual Studio project files from the context menu. This will generate ProceduralMeshesDemo.sln, which you can use to open Visual Studio. You can also open the .uproject directly in the Editor (it will ask to compile), but you probably will want to refer to the C++ code for this tutorial.
Build the solution and start (press F5) and the Editor should open into the sample map. You can test the project in PIE using the large Play button in the main toolbar, or click the Launch button to build a cooked executable. This will take a few minutes, after which the built game will pop up in a separate window. Try to escape the level! You’ll have to press Alt+F4 to exit as there is no menu/UI.
UGeneratedMesh
At the end of the last tutorial, ADynamicMeshBaseActor had some basic Blueprint functions you could use to do single mesh operations, like subtract another Actor, and so on. But to do real mesh generation, we need lots of temporary meshes. Consider something trivial like a “stairs generator”. In it’s simplest form, you would make a box, and then append a bunch of translated copies of that box, each shifted up-and-forward from the last. What I want to be able to do is have a BP_ProceduralStairs Actor, that has parameters for # of steps, width, height, etc, and it’s Blueprint does the mesh generation.
To do this kind of thing, we’re going to need temporary meshes. I want to make a temporary mesh, append a bunch of other meshes to it (which might be temporary meshes themselves), and then transfer that mesh to my ADynamicMeshBaseActor’s Source Mesh. So the question is, how to handle the temporary meshes in Blueprints? In Normal C++ we would just make FDynamicMesh3 objects, use them, and throw them away. But in Blueprints, we can only “use” the meshes by passing them between Blueprint functions. And to pass data between BP Functions, we either have to have them be UStructs or UObjects.
The issue with using UStructs is that Blueprints pass UStructs by value, and are very liberal with making copies of UStructs. So what that means is, if we put our FDynamicMesh3 inside a UStruct, it gets copied. A lot. There are ways to cheat to avoid the copies, like stuffing non-UProperty pointers inside the structs, but to use the cheats safely means that the person making the Blueprints has to understand what going to happen in C++. This is a Bad Idea.
So, our other option is a UObject. UObjects are much heavier than UStructs, and they are managed via garbage collection. What that means is, when a UObject is no longer referenced by any UProperties, it will be deleted (eventually). This garbage collection is going to cause some complications. But otherwise, this approach basically works. I have created a class UGeneratedMesh that is similar to the core of ADynamicMeshBaseActor - it has a FDynamicMesh3, as well as FDynamicMesh3AABBTree and TFastWindingTree for spatial queries.
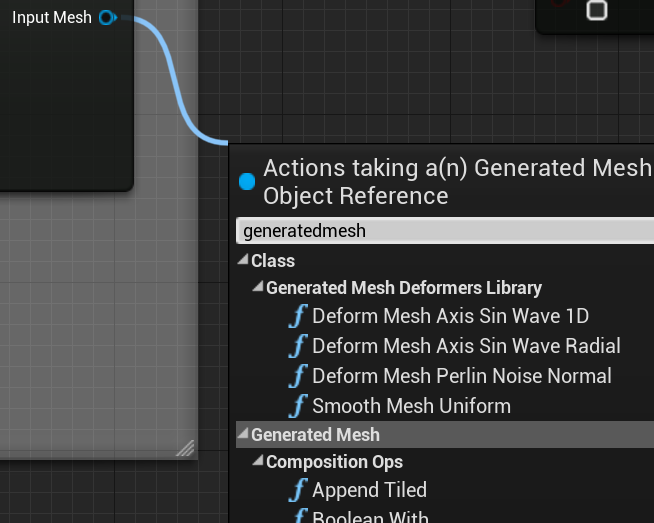
What it doesn’t have is a Material, Transform, or any of that stuff. It’s just a container for a mesh, with a set of UFunctions to manipulate that mesh. The set of functions is quite large, it includes a bunch of primitive generation functions (Box, Sphere, Cylinder, Cone, Torus, Revolves, and Extrudes), functions to Append and Boolean other UGeneratedMeshes, Cut with a plane, Mirror, Solidify, Simplify, Transform, Recompute Normals, and various Spatial Query functions. It can do a lot of things! And you can spawn them in Blueprints as needed, to do node-graph-style geometry creation.
My basic stacked-boxes Stairs Generator is below. This is all happening in the Construction Script on an ADynamicMeshBaseActor Blueprint called BP_ProceduralStairs in the sample project. I have two temporary meshes, Step Mesh and Stairs Mesh. The Append Box function adds a box to the Step Mesh, and then the Append Tiled function adds Step Mesh to Stairs Mesh multiple times, applying the input Transform each repetition. Finally Copy from Mesh is a function of the ADynamicMeshBaseActor, that copies the UGeneratedMesh geometry into the Actor, which then goes on to it’s Component (I will use ProceduralMeshComponent for everything in this tutorial, we’ll get to that).